Deployment guide
Keel is delivered as a downloadable VM image. Deploying is: import → attach a second disk → power on → log in → set a static IP → apply license.
1. Download the image
From the customer portal Downloads, download the appliance image in your preferred format (OVA, VHDX, or QCOW2). Verify the published checksum after download.
2. Import into your hypervisor
- VMware / OVA: Deploy OVF/OVA Template and follow the wizard.
- Hyper-V / VHDX: create a Generation 2 VM and attach the VHDX as its primary disk.
- Proxmox / KVM / QCOW2: create a VM and use the QCOW2 as its primary disk (e.g.
qm importdiskon Proxmox), or import the OVA. - OpenStack / OpenShift Virtualization: upload the QCOW2 as an image (Glance / CDI) and boot a VM from it.
Allocate at least 4 vCPU and 8 GB RAM (see system requirements). If your hypervisor offers a CPU type, choose host (or one exposing x86-64-v2).
3. Attach the log-storage disk
Add a second virtual disk sized to your retention needs. This holds your logs and configuration and persists across upgrades. You can also add it later from Settings → Storage.
4. Power on and find the address
Power on the VM. By default it requests an address via DHCP. Find the assigned IP from your hypervisor console or DHCP server.
5. First login
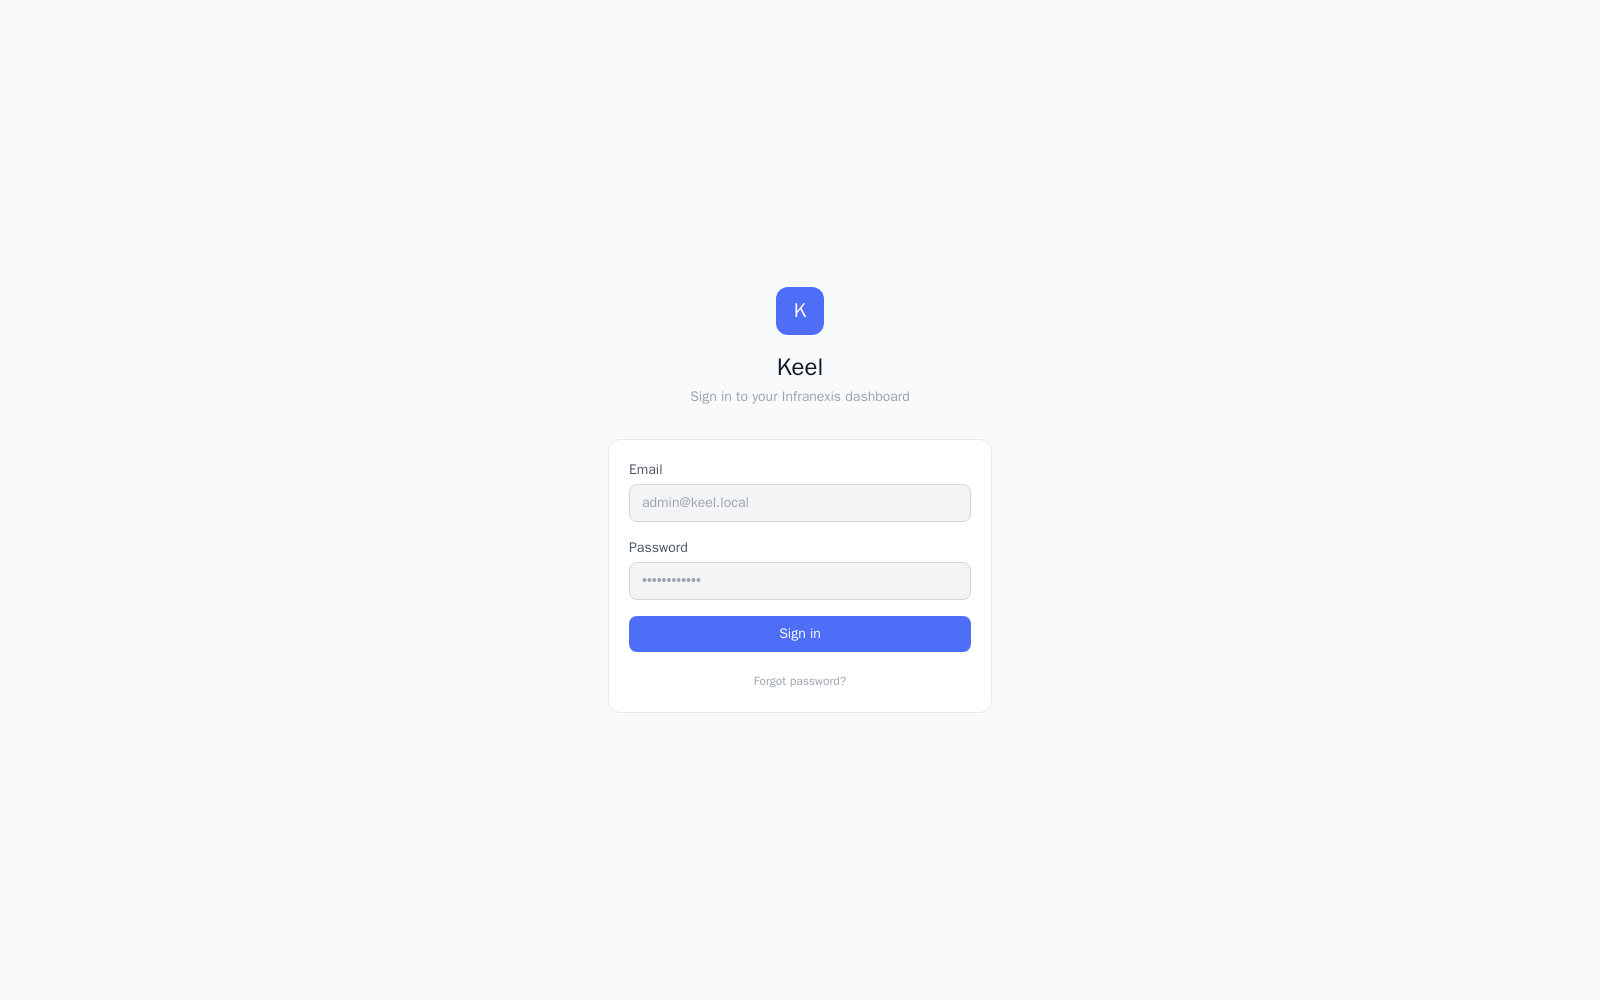
Open https://<appliance-ip>/ in a browser (accept the self-signed certificate, or install
your own later).
- Default credentials:
[email protected]/changeme123! - You will be required to change the password on first login.
6. Set a static IP
Go to Settings → Network, switch the interface from DHCP to Static, and enter the IP, netmask, gateway, and DNS. (VLAN, bonds, bridges, and routes are also configured here.)
7. Apply your license
Go to Settings → Licensing and apply the license from your portal account: - Connected mode: paste your license key; the appliance activates against the portal and is node-locked to this install. - Air-gapped mode: upload the license file; it validates offline by signature.
See licensing.
8. Configure the product
You're ready to ingest. Typical next steps: - Add log sources (OTLP / Syslog / Fluentd) and, optionally, log pipelines (mask, parse, enrich, route) — log-sources, log-pipeline-processing. - Set retention and an optional cold tier — storage. - Add alert sources, the alert pipeline, and notification channels — alert-sources, notification-channels. - Choose your AI backend — ai-configuration. - Upload runbooks to the Knowledge Base to ground RCA — knowledge-base. - Set up users / SSO — authentication.
For multi-node resilience, see high-availability.